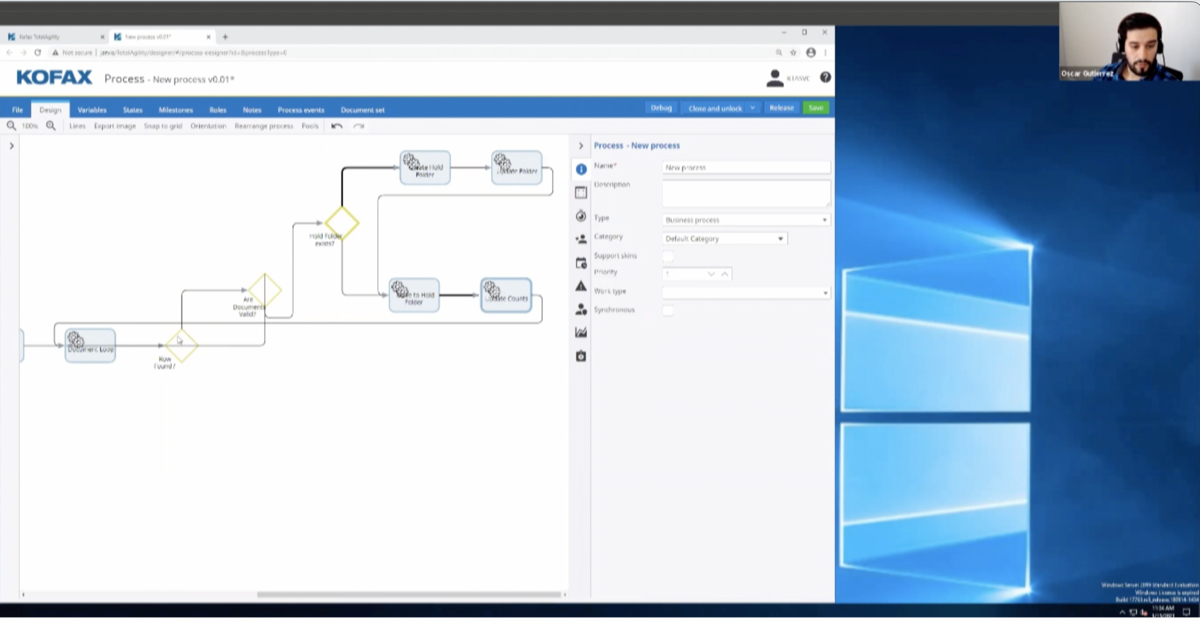
Today, we’ll be covering the Perceptive Content workflow basics and best practices. Workflow allows you to route a document or folder to business processes from start to finish with a customizable set of options. It’s a pretty robust tool, it’s very flexible. Something that almost every Perceptive client uses. Almost all of your workflow configurations live within the Perceptive Content workflow designer, which is what we’ll be walking through today.
Some of the settings I like to have set up when I work with the workflow designer is really the just the toggle on my grid. Then make sure everything is snapped to grid, which is the second option here. What that allows you to do is organize your workflow so that it’s a lot better laid out and then in case another admin needs to get into this workflow, things are laid out logically and it’s a lot cleaner.
Some of these next options here just allow you to choose how you want these routes to display while they’re placed onto the workflow designer itself. There’s some zoom options here, then there’s a couple more text box options that are presented here. You’ll notice within this example I have a combination of containers, comment boxes and text boxes in order to achieve this look here.
This big gray box here is what Perceptive calls a container. It’s really just a giant gray box, once you have that selected you have a lot more properties here to allow you to change the color of the background and of the border. The other two options that are left up here, this is the comment box and then these are your text boxes. The difference between the two is the comment box looks like this with the white background, and the border. Your text box is really just a free floating text field. The way you can choose the font and the font sizes. I like to you use my text boxes as headers, and then my comment boxes just to place those around the workflow to give the admin a good idea of what’s happening without digging in too far to those scripts.
Another thing I like to do with my workflow is color code the items. Within this particular workflow, the queues have been surrounded in blue are the end user queues. Those are manual queues where end users are going to be assigned to for them to work. The gray queues are automated queues, so those are documents or folders going to flow into those queues, but those are all automated. Some sort of script or back end processing is what’s pushing those along. While the end user queues or waiting for an end user action in order to move that forward.
Now, talking about queues, you’ll notice inside of these queues in the top left corner, that symbol is going to denote which type of queue is being used currently for that specific queue. Here the top three that I commonly use are work queues, super queues and system queues. Everything else is a pretty specific queue used for a specific task, for example, content queue allows you to submit a particular document to content server to get those OCR results. Integration server queue, so that allows you to submit those to Envoy for a specific web service call.
The main ones, again, are your work, your super, and your system queues. The work queue is a traditional workflow queue, you can assign users to this queue. You an assign some sort script action to the queue, you can assign forms, application plans. It’s probably the most widely used queue here. The system queue is basically a work queue, but there is no security tied to system queue. I try to not use those queues so often, even though all of these gray queues can technically be system queues, the reason being if one day you decide that a superuser, end user, needs access to that particular queue, if it’s a system queue they won’t have access to it and there’s no way to change that. So to do that in the future you would have to rebuild the queue as a work queue, delete the system queue and swap them out. It’s better just to start with work queues and then not assign security to them, it behaves essentially the same way between work and system.
The other queue is a super queue. A super queue works as a collection of work queues. The idea is that you would use a super queue when you have a whole bunch of work queues that require a very similar configuration. Typically security being the only thing that’s different. As you go through and design your workflow queue columns, that can get very tedious with a whole bunch of end user queues that need those configured appropriately. If they’re all going to be configured the same way, the best way to do that would be to throw everything into a giant super queue. You create a whole bunch of sub queues under that and then configure that workflow queue appearance just once. That’ll trickle down into everything inside of the super queue.
You’ll notice here within my workflow I have a whole bunch of these work queues and then a couple of these super queues. Just to show you how can use those interchangeably.
In addition to the queues, the next big thing routes. Within the routes, only two of them are really commonly used. Those are the sequential routes and the auto-routes. The auto-sequential routes. The difference being really just the color. The green routes and the black routes. I like to think of the green routes as your happy path within the workflow. You can only have one auto-route between queue to queue. If a document were to come here the script would fire off, once the document seems successful it’ll just follow this green path. You’ll notice here within this queue there are multiple destinations. None of them are greater than the other. It’s just that depending on whatever rule we have configured here … All of these are just going to be your regular sequential routes. From all of these queues, the destination, if everything is deemed successful should come to this queue which is why these are all green here.
Within the scripting, when you do your iScripting, you can also configure these to the auto-route, whatever is configured on the queue as opposed to specifying a specific queue name or a queue IP.
The other two, parallel and load balancing. Those are exactly what you think they are, they’re not use too terribly often. Moving on, within the top left corner of the queues, you’ll notice some of these actions specified here. The difference between this green triangle versus this blue square is really just the inbound action versus within queue action. If we go and open up one of these queues to give us these queue properties, within these queue properties you’ll notice the action section. Within the actions, you have your inbound action, your within action, your outbound action. Typically with the script, best practice is always to make those an inbound action. As a document enters the queue, this script gets kicked off. This script has context as to which workflow item is being invoked. At that point the script can just before it’s action on that specific document before either routing or whatever action you have configured for that script to do.
Outside of iScripting the next most common thing is really just routing rules. Routing rules will always start as an inbound queue action. Routing rules allow you to determine what needs to happen with those queues. For instance, this one right here is a routing rule. It’s going to route the document into one of these linking queues and I think the rule here is based on a document type or a specific [inaudible 00:08:14] combination.
You can do all of that without any scripting experience, that’s all done within the workflow designer. It’s pretty flexible but if you need a little bit more functionality that’s where we would go down that I-script path.
Within these queue properties, we do have the ability to set alarms. Alarms on the queue we can have it set so that if the queue count is greater than one or greater than five, send an email to a specific user to let them know. This is specifically useful for exception queues, error handling queues, workflows that aren’t really used to often that you want some of alert to tell you an item is in this queue and something needs to happen to it.
I mentioned workflow appearances. Those are your queue column appearances. To the end user, if you select preview, it’ll show you what these queue columns are going to look like to those end users. From here it’s just your typical columns configuration with an image down, you can drag items, sort items, add items into the columns as well.
Then, on top of that we have applications and forms. Applications is how you would tie an application plan to a queue. Form is how you would tie those eForms to those queues as well.
That was a pretty high level overview of some of these workflow options within the workflow designer. Thank you for watching this RPI resource video and I hope you learned something new. You’d find more RPI resources including videos like these are RPIC.com. For more information, contact us today at RPI and RPIC.com. Thank you.