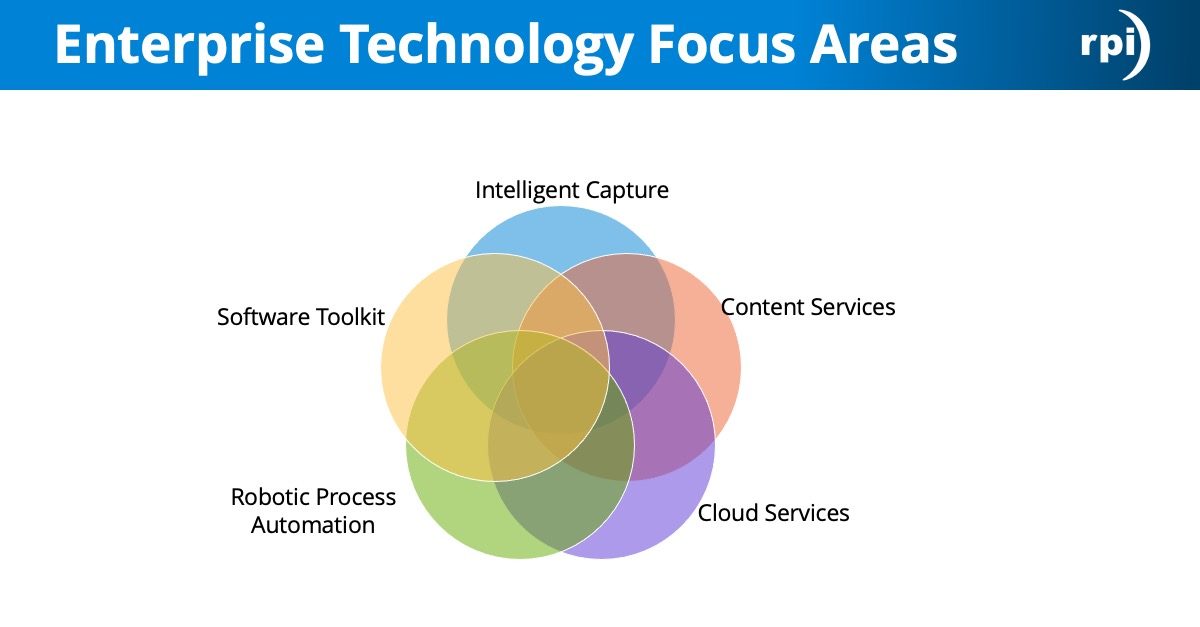
Hello my name is Alex Lindsay with RPI Consultants and welcome to another video highlighting ImageNow functionality. Today we’re going to be talking about importing and how to bring documents already electronic documents into perceptive content or ImageNow as you guys might call it. The first thing we’re going to do is, first off make sure that it’s licensed. It is a separately licensed product. You notice here, you have the service kind of here as well. If you require something that’s maybe more complex than what we’re going to show here, script can always do this as well and you’re more than welcome to reach out to us to talk about any needs you have there.
So before we start, first off make sure that the service is stopped. You can see here that we have it stopped. The next thing we’re going to do is navigate to your inserver and ETC directory and locate the inserverimp INI file. We’re going to open that up to edit it. So the first thing you’ll notice within this file, we kind of highlight the different methods in which you can import. There is index file, combo, key mapping and these all have really good descriptions. Index file for instance is where we import the image document along with an associated index file to get the metadata associated with it. That can be a one to one, where one document and one index file or multiple documents and one index file. Tiff_Text_Combo file name, which we’re going to demonstrate today. Data capture, so if you have the data capture tool you could do that along with import agent. DOD record and DOD XML if you have DOD requirements there as well as capture profile if you need to do something slightly more complex.
Today we’re just going to be highlighting how to set up import agent for a FILENAME method. So the first thing we’re going to do is scroll down. There’s basically three areas that we need to configure within the solution. First off here, there’s the import.mode, we’re going to set that to FILENAME here. You can use, this is basically where you choose the particular method in which you’re going to import. Make sure that the directory is set up and configured here. It’s going to require, you can pull this up here. It’s going to require a complete and a failed. You can rename these if you like, if it makes a little bit more sense. But essentially make sure that this directory exists before or after you do this configuration.
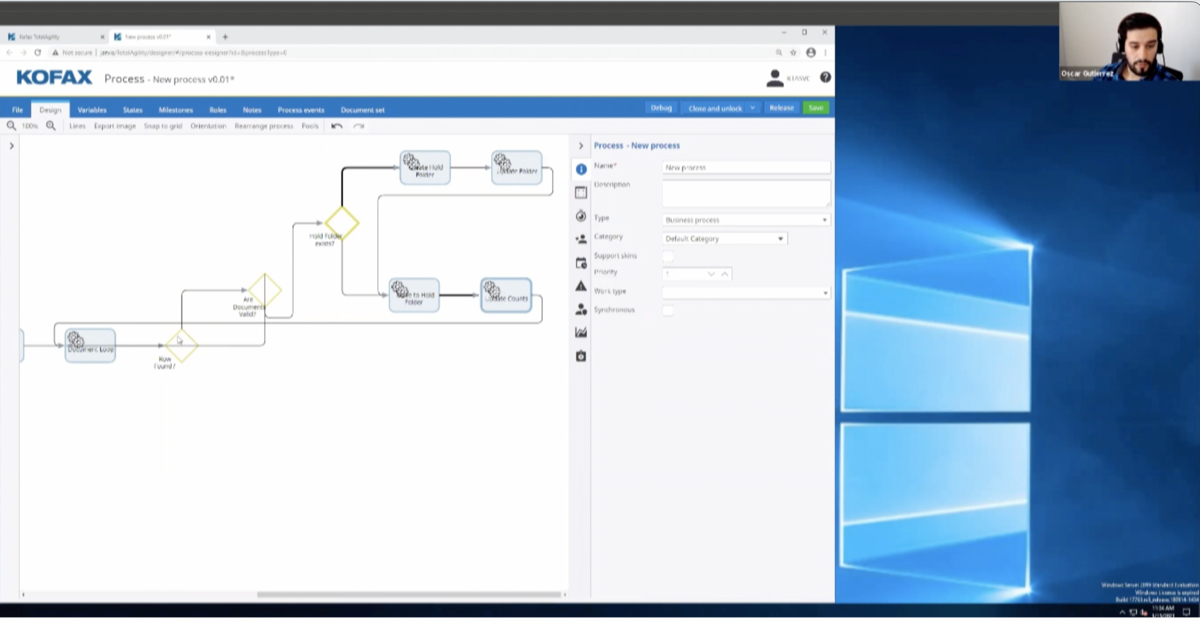
The other neat thing that you can do here is send it to a work flow queue instead of just importing directly into the system. You can send it into a work flow process. More often than not, if you’re importing PDF or Word documents things like that you’ll send it to the INMAC or the file conversion component to be converted to a TIFF. For our instances here today, we are just going to send it to an AP header entry queue just to demonstrate that. So once you have that configured, let’s go ahead and navigate down to our actual FILENAME import method below. You can see here we have FILENAME. The section in green here that’s commented out, this will kind of give you an idea of how we’re going to provide the indexing for this. Essentially all the metadata that we need in our example for this document to you know assign the field one, field two, field three for instance, is going to be in the file name itself and I’ll demonstrate that here in a second.
So our extensions are going to be TIFFs, which is where you configure that here and then the file name. So, in our file, if I pull this up very quickly, we basically have three images here that we’re going to import. We have 200, which is the company number, the vendor ID and the invoice number. For our example, that is going to be field one, field two, and field three. So we’re going to go ahead and configure that here. The other important part of this is the dilemeter, so how are we separating those values in the file name itself. For us, based on the application that we generated these files from it was carrots was the easiest way to get that dilemeter. So we’re going to configure that. If you’d like to do multi doc mode or multi page TIFFs, you can configure that here as well. For our purposes here, we’re just going to leave it as one document.
And then the final area we need to configure is the key mapping section. So if we navigate down further, to our key mapping you can see here. You notice that to create any type of document within ImageNow you have to have a drawer value, a doc type value, and at least one index value configured. So for us, our doc type is going to be invoice. So this is where you configure this here. Make sure that this doc type does actually exist within perceptive content or else it will fail, it won’t be able to find the associated doc type. Same thing goes for drawer as well. And if the index is provided within one of the methods, so index file or FILENAME you can go ahead and put this section here, this index provided into the configuration. We’re also going to do date time stamp here as well, just so we can track when the document was actually imported into the system. And then we’re also going to assign a unique ID into field five. This is just kind of a best practice.
Once you have that, save the INI file, navigate to your services, and start import agent. So at this point everything should be ready for you to import the documents. What we’re going to do here is take a copy of these three invoices here, navigate to our import folder. We’re going to paste them in. Give it a quick second here. We can see now that they have been imported. If they fail, you know pretty easily that they went to the failed directory. For this purposes here, they’ve gone into the complete folder. And to verify the results, you remember we sent it to the AP header entry queue. We’re going to go back to this queue, I’m already on the queue itself. I’m going to refresh the work flow view.
You can see here that we’ve imported those three invoices here. We have company number, invoice number, and vendor ID on the documents itself as well as the date time stamp that’s mapped to field four and our unique ID. That concludes this demonstration of import agent. If you have any other questions about this, please feel free to to reach out to us at anytime. Thank you very much.