
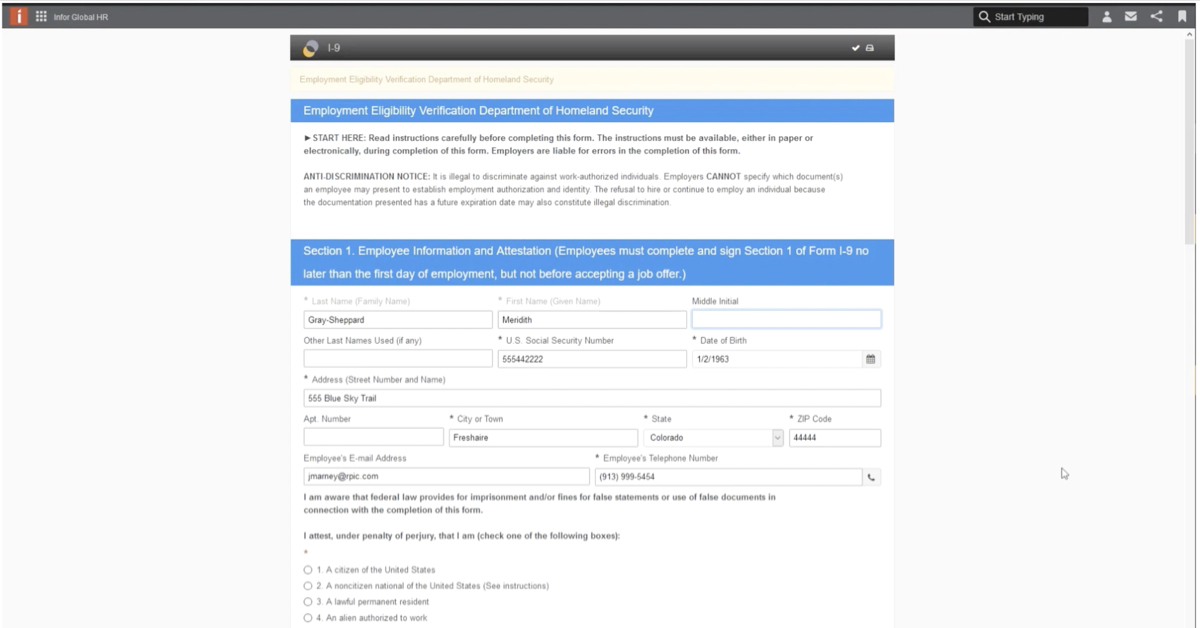
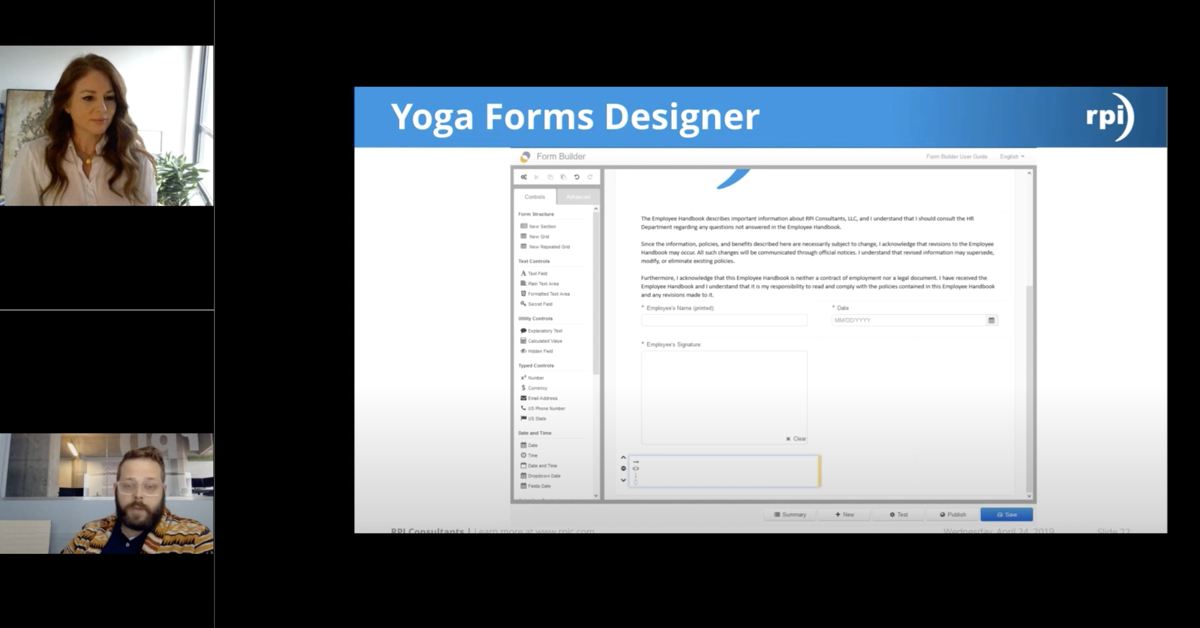
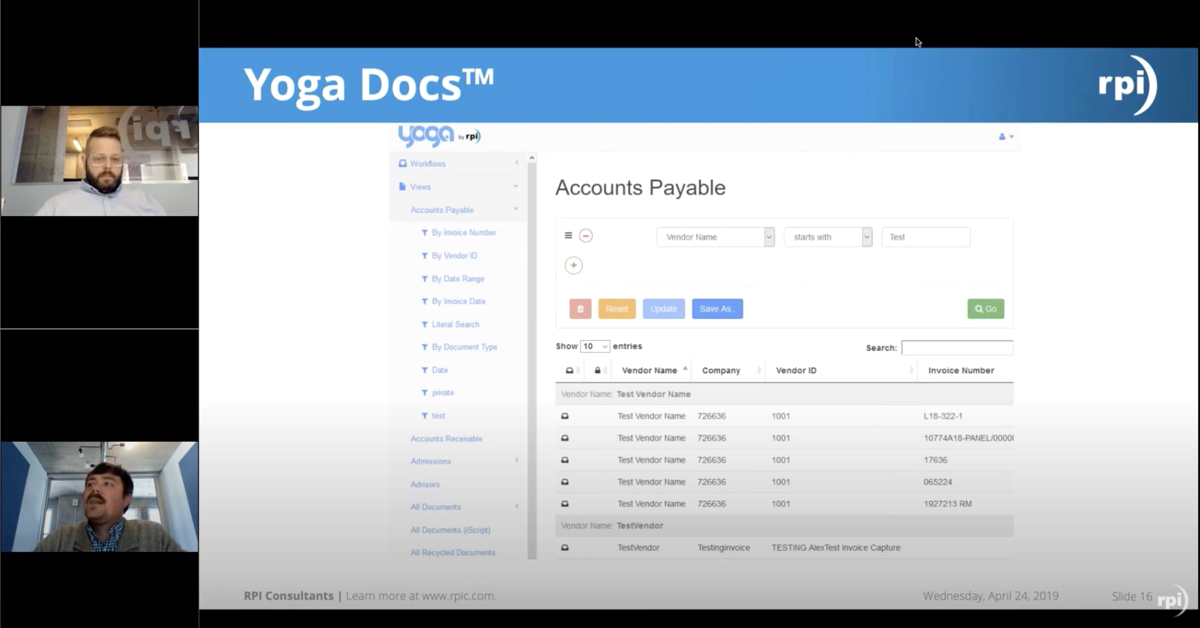
Demo of Hyland OnBase Unity Forms for Workers Compensation Claims
Follow us online for faster access to announcements, knowledge base updates, and upcoming events!
Entire Knowledge Base
All Products, Solutions, & Professional Services


Contact Us to Get Started
Don’t Just Take Our Word for it!
See What Our Clients Have to Say
Denver Health
“RPI brought in senior people that our folks related to and were able to work with easily. Their folks have been approachable, they listen to us, and they have been responsive to our questions – and when we see things we want to do a little differently, they have listened and figured out how to make it happen. “
Keith Thompson
Director of ERP Applications
Atlanta Public Schools
“Prior to RPI, we were really struggling with our HR technology. They brought in expertise to provide solutions to business problems, thought leadership for our long term strategic planning, and they help us make sure we are implementing new initiatives in an order that doesn’t create problems in the future. RPI has been a God-send. “
Skye Duckett
Chief Human Resources Officer
San Diego State University
“Our favorite outcome of the solution is the automation, which enables us to provide better service to our customers. Also, our consultant, Michael Madsen, was knowledgeable, easy to work with, patient, dependable and flexible with his schedule.”
Catherine Love
Associate Human Resources Director
Bon Secours Health System
“RPI has more than just knowledge, their consultants are personable leaders who will drive more efficient solutions. They challenged us to think outside the box and to believe that we could design a best-practice solution with minimal ongoing costs.”
Joel Stafford
Director of Accounts Payable
Aspirus
“Our relationship with RPI is great, they are like an extension of the Aspirus team. When we have a question, we reach out to them and get answers right away. If we have a big project, we bounce it off them immediately to get their ideas and ask for their expertise.”
Jen Underwood
Director of Supply Chain Informatics and Systems
Our People are the Difference
And Our Culture is Our Greatest Asset
A lot of people say it, we really mean it. We recruit good people. People who are great at what they do and fun to work with. We look for diverse strengths and abilities, a passion for excellent client service, and an entrepreneurial drive to get the job done.
We also practice what we preach and use the industry’s leading software to help manage our projects, engage with our client project teams, and enable our team to stay connected and collaborate. This open, team-based approach gives each customer and project the cumulative value of our entire team’s knowledge and experience.